Netvisor Integration
Accounting Integration
Integrations are data sources that you can connect through Calqulate to automate the process of financial reporting. Calqulate has a plug-and-play integration with Netvisor, which imports all your customers, products, sales invoices and payments.
Once connected, the data from your Netvisor account will be displayed in the Financial Reporting Dashboard and help us to calculate your growth metrics and cash runway. Calqulate also saves your customer data, sales invoices and payments in the Customers and Products menus and automatically detects subscriptions from Netvisor sales invoices.
How to adjust Netvisor user right settings
To set up your Netvisor integration, Calqulate needs permission to import data from Netvisor. You will need to have a "Professional" or "Premium" package to enable the API connection.
If you are using a "Basic" or "Core" package, Calqulate will not be able to obtain the permission required to connect to your Netvisor account.
If you have the correct Netvisor Subscription you will need to adjust the user right settings of Netvisor.
Login to Netvisor and hover over your organisations' name so that a menu listing appears. Click Rights of interface resources.
.png")
In the Integration panel, click Custom integrations. There paste Calqulate's integration key, which is: B7BFEFCB3D0364F3A38BCB2F49B29C9F, in order to connect to Calqulate. Choose Calqulate Metrics Oy to continue adjusting the user right settings
.png")
Please set the Integration access rights up like it is demonstrated in the pictures below.
.png")
.png")


Hover again over your Companies name, click API and identifiers.

Click Create new API identifier.

Note down the User-ID and Key shown on your screen (The picture below is an example and can not be used for your account).

Hover over your Companies name and click Company basic data and settings.

Click Basic Data.

Note down the Business-ID.

You have now set up the user right settings and noted down the necessary information so that you are ready to connect Netvisor to Calqulate.
How to set up the Netvisor integration
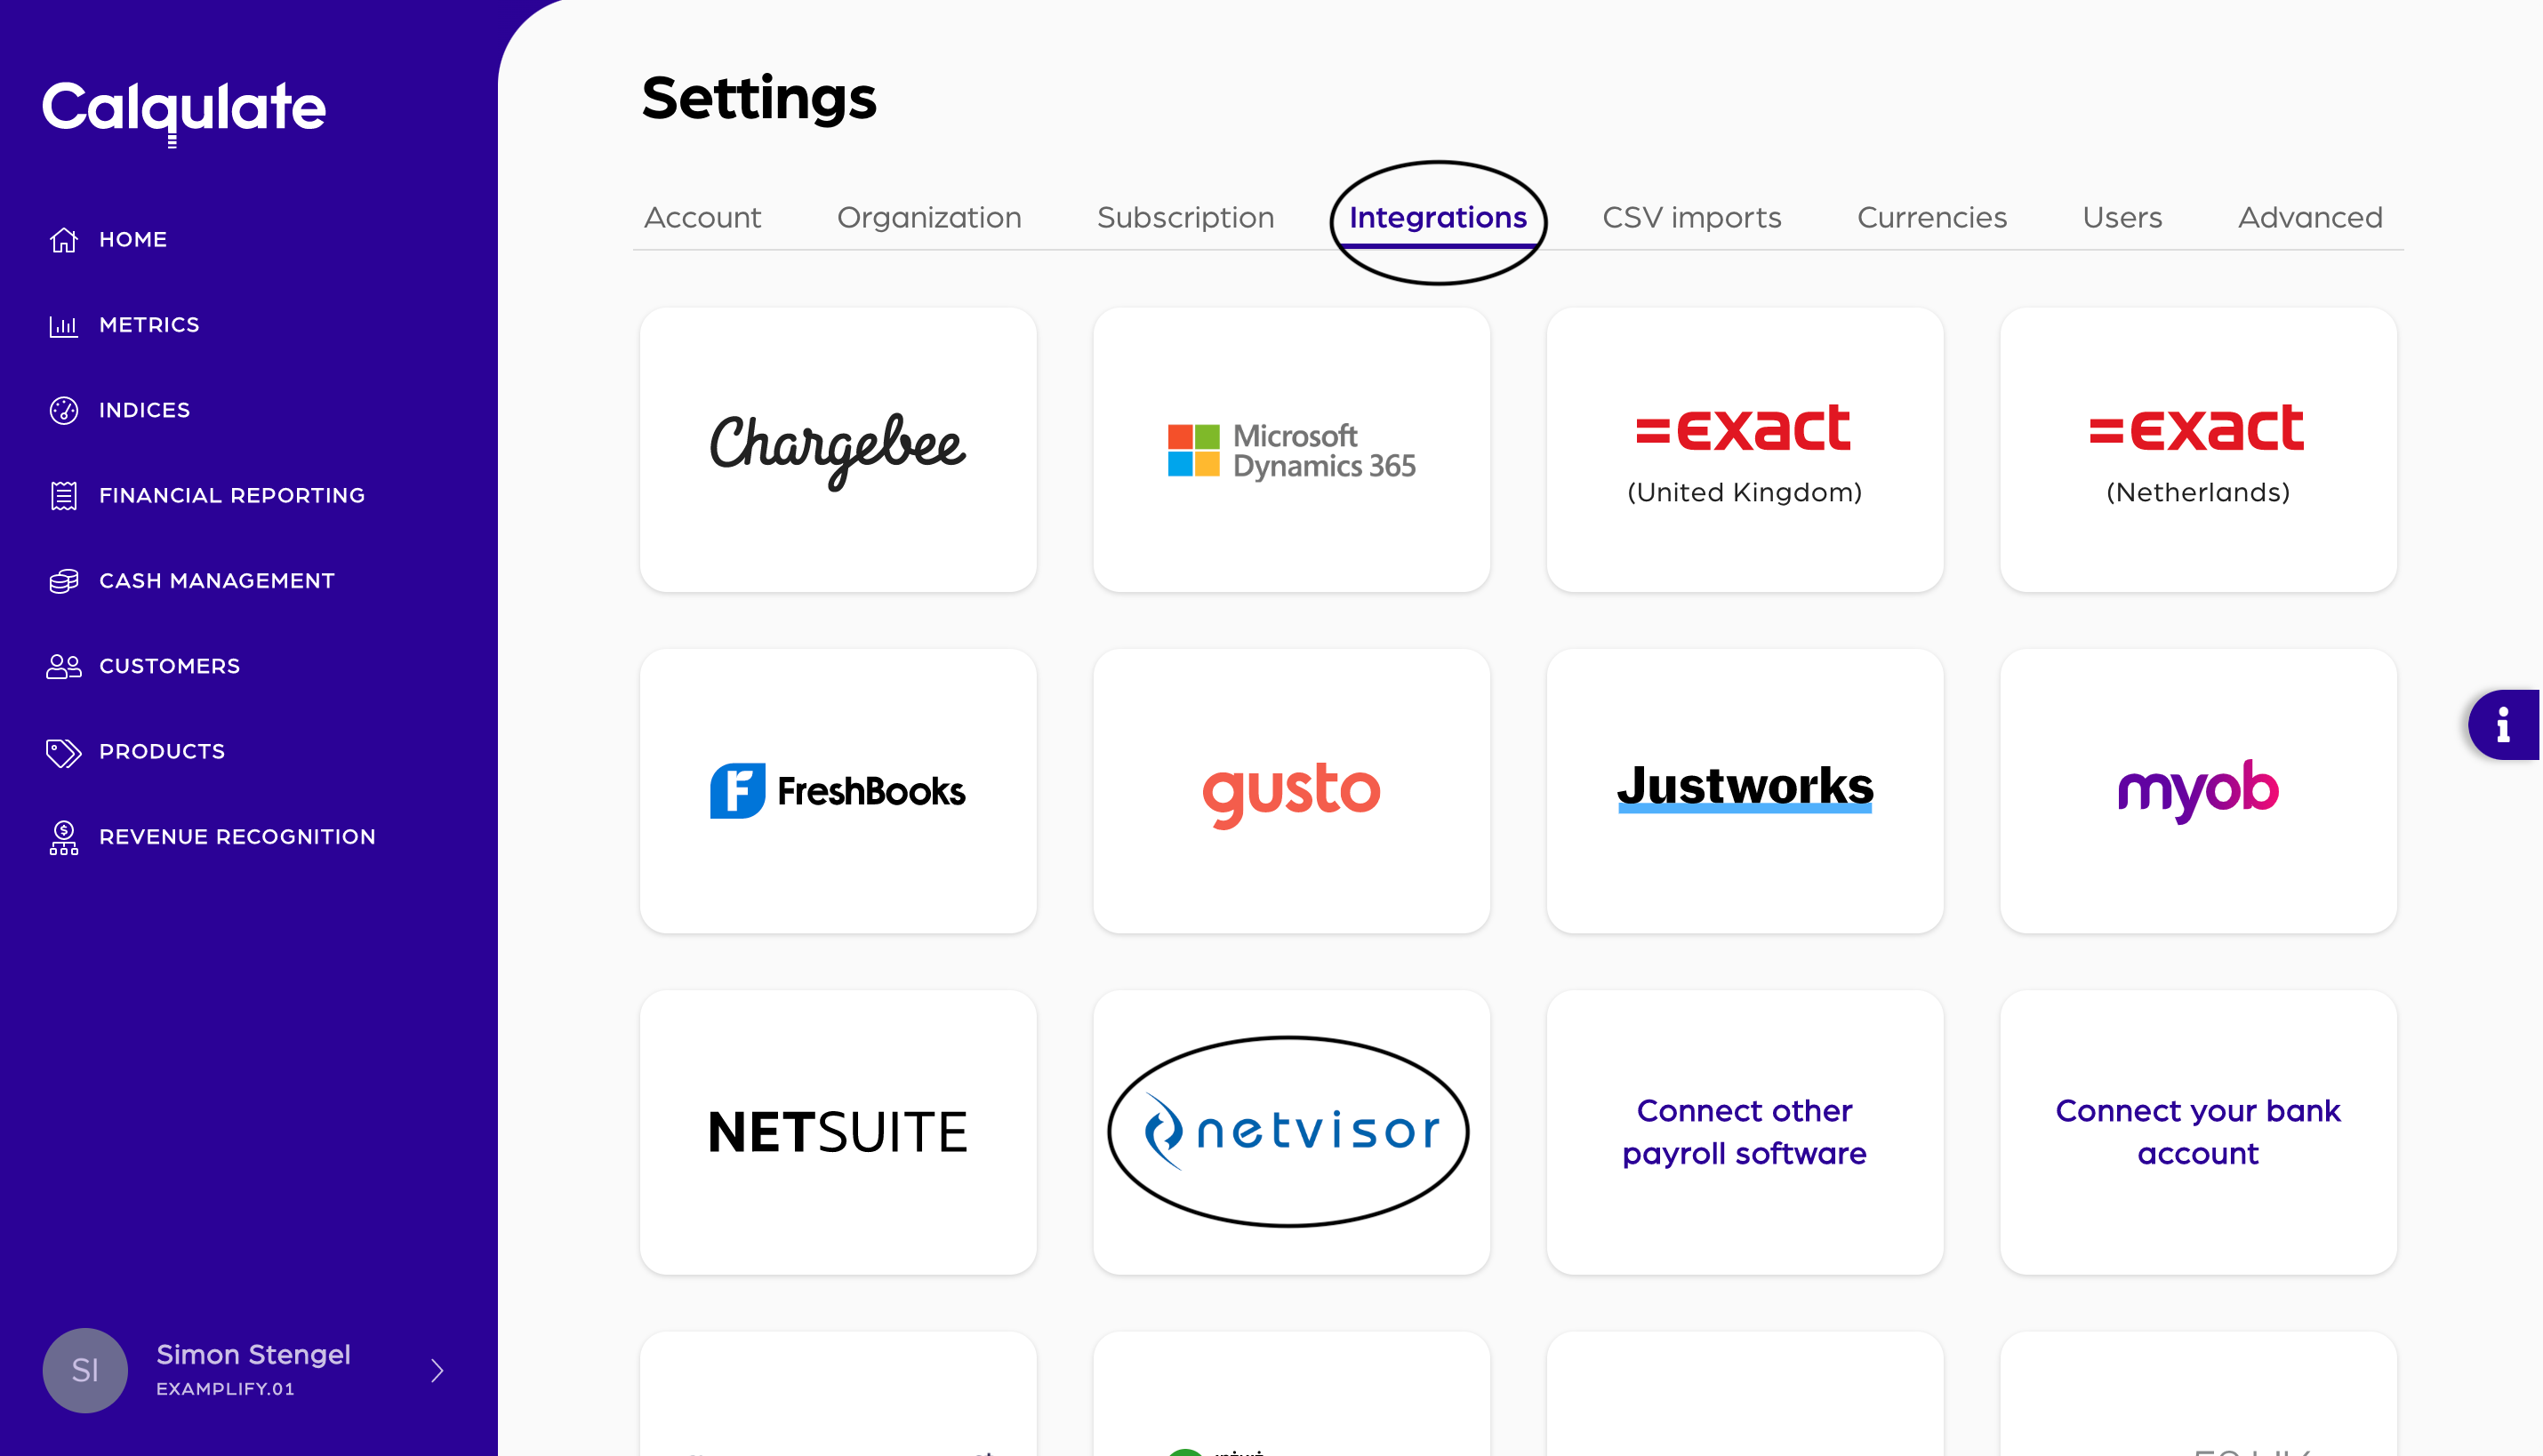
Firstly, go to the left-hand menu and click on your account > Settings.

Under Settings, you'll find the Integrations tab and then Netvisor.
For your 14-day free trial, we won't charge you for integrating Netvisor as a thank you for trying out Calqulate.
When your free trial ends, you'll still be able to see the data you imported. However, you'll need to subscribe to one of our plans to continue to import data from Netvisor. Upgrade to one of our plans anytime in Settings > Subscription.
Click Connect now.

Note: It is possible to add two or more of the same type of integration. For instance, you might have two Netvisor accounts associated with your company which each serve a different region (EU vs. US). Therefore, please create a unique Name for each integration you add.
Enter now the Organization-ID, User-ID and API identifier key. After inserting, click Connect.
.png")
Depending on the volume of your data, syncing can take up to 15 minutes. Check that the Status for your Netvisor integration reads Active.
Note: You might need to refresh your browser in order to see your integration as Active.

That’s it, you’re done, and your integration is now added.
Where to see the data from your Netvisor integration
Once your account is connected, check out the Financial Reporting Dashboard and Cashflow Dashboard. Here you'll find most of the data imported from your Netvisor account.
There are also a few places to check your data is coming through successfully:
💡 Calqulate Tip: Now that you've integrated Netvisor, try adding a Subscription Management Software integration such as Stripe or Chargebee, to pull all your financial data to one place and get the most out of Calqulate.
Updated over 3 years ago
What’s Next
After adding your integrations you might want to check out the following pages: